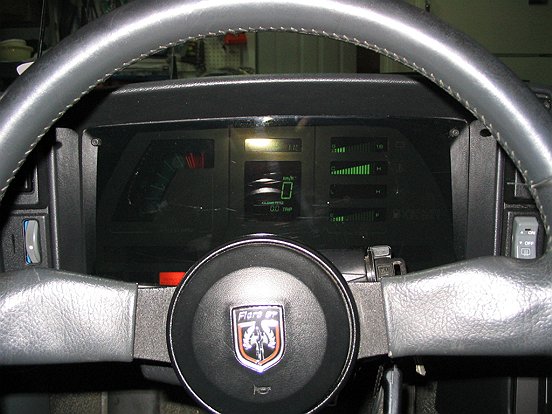
Digital Cluster
Step
Descriptions
Click on Picture
Pre-requisit
- 1987 Fiero GT
- 1987 Z24 V6 Digital cluster
- both connectors for the digital cluster
- temp sensor with connectors
N/A
Pre-requisit
Tools required for this project
- PATIENCE
- drill
- dremels
- soldering iron
- shrink wrap
- and more...
N/A
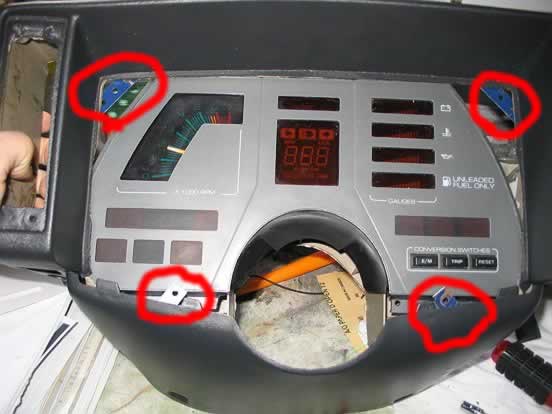
1
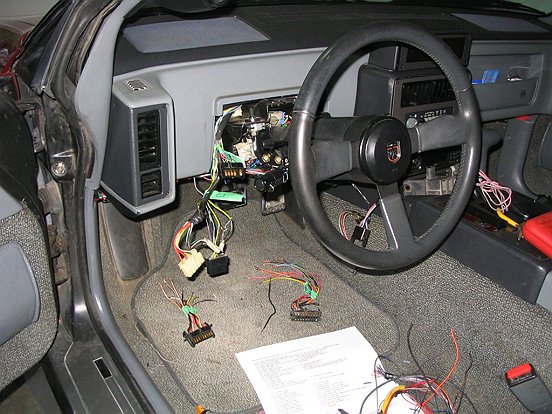
DON'T CUT THE WIRER YET..... Do one wirer at the time.
2
3
4
5
6
7
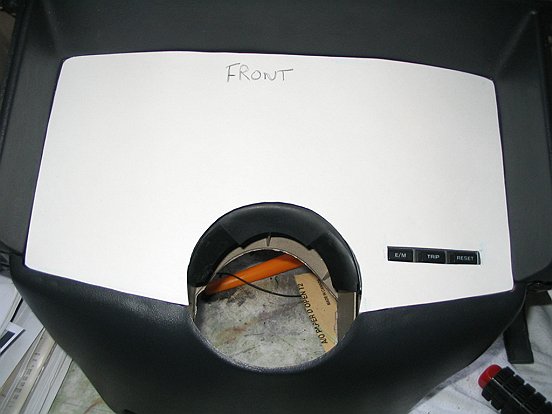
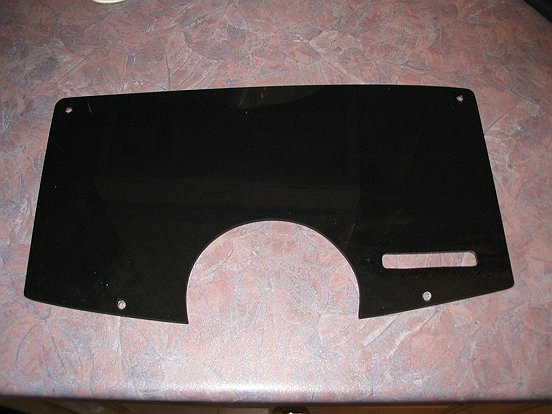
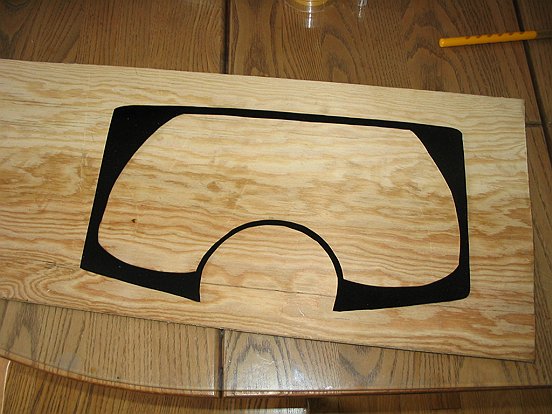
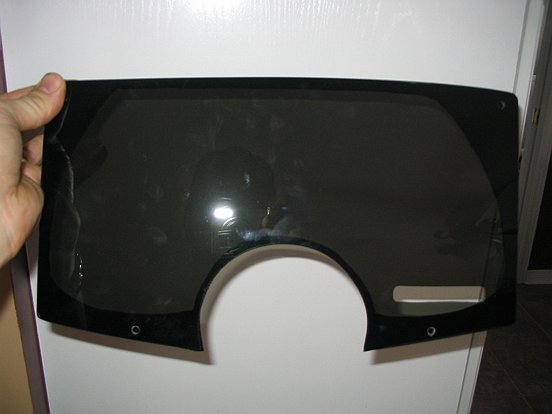
I brought my cardboard face plate to
Mike McDonald
CANUS Plastics Inc.
300 Lisgar St. Ottawa ON, K2P 0E2
Tel: (613)232-2657 ext 230
www.canusplastics.com
Mike McDonald
CANUS Plastics Inc.
300 Lisgar St. Ottawa ON, K2P 0E2
Tel: (613)232-2657 ext 230
www.canusplastics.com
8
9

For all the pictures